
How to Automatically Back Up Files on a Mac
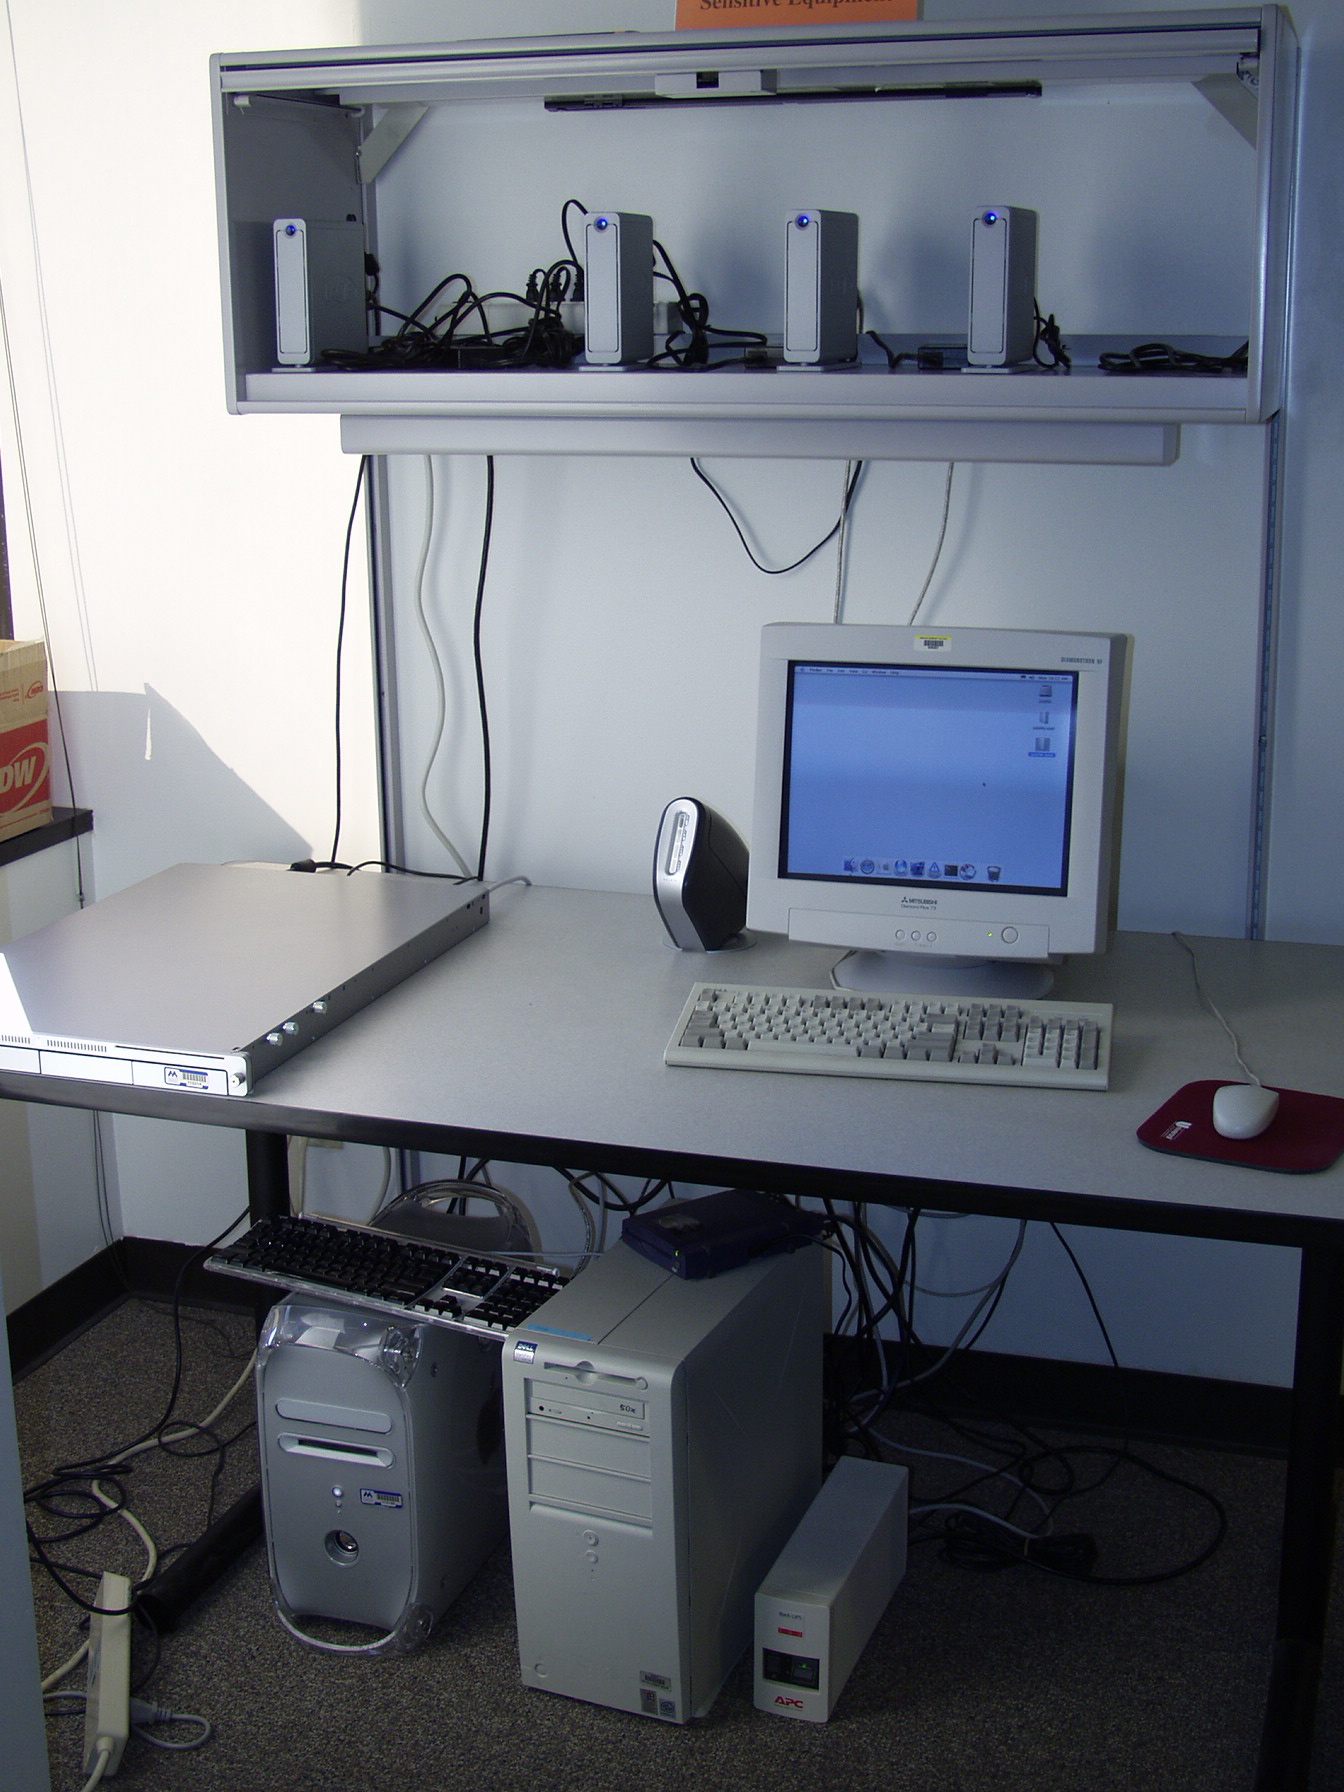
Protect your documents and photos with Time Machine, iCloud Drive, and an external storage drive.
Choose the right kind of Mac backup
Macs include two useful backup options: Time Machine creates full, restorable backups on a storage device, while iCloud Drive keeps selected files synced between your Mac and other Apple devices. You can use either one, but using both gives you stronger protection.
This guide uses the layout in macOS Sequoia 15 and later. If your Mac runs an older macOS version, some buttons or menu names may look slightly different.
Automatically back up with Time Machine
Time Machine is the Mac’s built-in backup feature. It can save your documents, photos, apps, account settings, and other data. If you delete a file accidentally, you can browse older backups and recover it. Time Machine can also help restore your information after a drive failure or when moving to another Mac.
You need an external hard drive or SSD with enough room for your Mac’s data. Apple recommends a backup disk with at least twice the storage capacity of the Mac being backed up. The drive may need to be erased before use, so copy off anything important first.
- Connect the external hard drive or SSD to your Mac.
- Open the Apple menu and select System Settings.
- Click General in the sidebar, then click Time Machine.
- Click Add Backup Disk, or click the plus button if another backup disk is already listed.
Add Backup Disk
- Select your external drive and click Set Up Disk.
Set Up Disk
- Choose whether to encrypt the backup. Encryption is recommended, but make sure you save the password somewhere safe.
- Click Done and leave the drive connected while the first backup runs. The initial backup may take several hours.
Done
Let Time Machine handle future backups
After setup, Time Machine backs up automatically whenever the selected drive is connected. Later backups are usually quicker because Time Machine copies only new and changed items. When the disk becomes full, it removes the oldest backups to make room.
On a MacBook, backups can continue while the computer is running on battery, although connecting it to power during a large first backup is a good idea. To adjust options, return to System Settings > General > Time Machine and click Options. There you can exclude folders that do not need to be backed up.
Before unplugging a backup drive, eject it in Finder by clicking the eject symbol beside its name in the sidebar. If you do not see the drive, open Finder and choose Go > Computer.
Sync Desktop and Documents with iCloud Drive
iCloud Drive can automatically store the contents of your Desktop and Documents folders in iCloud. Those files then appear in the Files app on an iPhone or iPad and in iCloud Drive on other Macs signed in to the same Apple Account.
Keep in mind that syncing is not the same as a separate backup. If you delete an iCloud Drive file on one device, that deletion normally syncs to your other devices. Recently deleted files may be recoverable for a limited time, but Time Machine offers better protection against accidental changes and long-term data loss.
You also need enough iCloud storage. Apple includes 5 GB free with an Apple Account, which is often not enough for a large collection of documents and photos. You can review or upgrade your plan in the iCloud section of System Settings.
- Open the Apple menu and choose System Settings.
- Click your name or Apple Account at the top of the sidebar.
Apple Account
- Click iCloud, then click Drive or iCloud Drive.
- Turn on Sync this Mac if it is not already enabled.
Sync this Mac
- Turn on Desktop & Documents Folders, then confirm the change.
Desktop & Documents Folders
- Keep your Mac connected to power and Wi-Fi while the first upload finishes.
Back up your Photos library
If you use the Photos app, iCloud Photos can upload your photo and video library automatically. Open System Settings, click your Apple Account, choose iCloud, and then select Photos. Turn on Sync this Mac.
iCloud Photos is also a syncing service, so deleting a photo on your Mac generally deletes it from other synced devices. For a more complete safety net, keep your Photos library included in Time Machine backups. If Photos is set to optimize Mac storage, some full-resolution originals may exist only in iCloud and may not be present in a local Time Machine backup.
Make a simple manual copy when needed
For especially important files, you can also make a manual copy on another external drive. Connect the drive, open Finder, and drag files or folders onto the drive’s name in the sidebar. Wait for copying to finish, then eject the drive before disconnecting it.
A manual copy does not update itself, so repeat the process whenever the files change. It works best as an extra backup kept separately from the Mac—not as a replacement for Time Machine.
Bottom line
For most people, the best setup is Time Machine on an external drive plus iCloud syncing for frequently used files and photos. Connect the Time Machine drive regularly and occasionally confirm that recent backups appear in System Settings.
Need a hand?
If you'd rather someone just take care of it, PcFixin' can help — residential or commercial.
About PcFixin'